

How Do I Wire a 12V Brushless Motor with a Sensorless Controller Correctly
2026-08-27
For hobbyists and engineers alike, integrating a 12V Brushless Motor with a sensorless controller often feels like deciphering a cryptic puzzle. Unlike brushed motors with their simple two-wire setup, a 12V Brushless Motor requires precise phase timing and a compatible electronic speed controller (ESC) to spin efficiently. At Hongyunteng, we have guided countless builders through this process, and the core truth is simple: success depends on understanding the three phase wires, the initial startup sequence, and the critical calibration step that most manuals overlook.
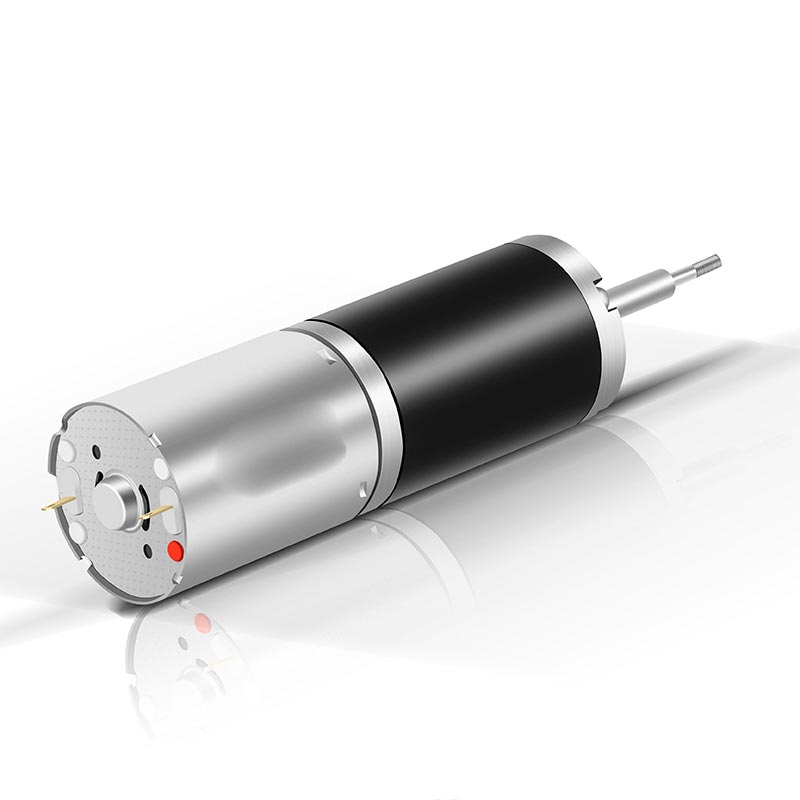
The Three-Phase Connection: A Step-by-Step Guide
Wiring a sensorless controller to your 12V Brushless Motor is not about guesswork. Follow this structured procedure to ensure safe and reliable operation.
| Step | Action | Critical Checkpoint |
|---|---|---|
| 1 | Identify the three thick phase wires (typically labeled A, B, C or colored Yellow, Blue, Black) on both the 12V Brushless Motor and the controller. | Ensure no bare wire strands are touching each other. |
| 2 | Connect the three phase wires in any arbitrary order. Solder or use high-current bullet connectors. | Confirm solid mechanical joints – loose connections cause heat. |
| 3 | Connect the motor’s hall-effect wires (if present) – but for a pure sensorless controller, leave these disconnected. The controller relies solely on back-EMF. | Double-check that the controller is explicitly marked as "sensorless." |
| 4 | Power on the system with a low throttle signal (e.g., 10% pulse width). Observe the initial cogging or beeping sequence. | A smooth, quiet start indicates correct phase alignment. |
| 5 | If the motor stutters, jerks, or fails to start, swap any two of the three phase wires and repeat Step 4. | This reverses the electrical rotation direction without reprogramming. |
Professional Tip from Hongyunteng: Always use a current-limited power supply (e.g., 3A max) during the first test. A direct battery connection can damage both the controller and your 12V Brushless Motor if a short exists.
Sensorless vs. Sensored: Why Wiring Differs
Many users mistakenly treat sensorless controllers identically to sensored ones. The table below clarifies the distinct wiring logic.
| Feature | Sensorless Controller | Sensored Controller |
|---|---|---|
| Wire Count to Motor | Only 3 phase wires (A, B, C) | 3 phase wires + 5-pin hall sensor harness |
| Startup Behavior | Requires initial rotor dithering to detect position | Instant smooth start from zero RPM |
| Wiring Complexity | Low – swap any two wires to reverse direction | High – must match phase-to-sensor color codes |
| Risk of Damage | Minimal if phases are mismatched (just won't start) | High – incorrect hall wiring can burn the driver IC |
| Best Application | Fans, pumps, and e-bikes above 500 RPM | Robotics and low-speed high-torque loads |
For a standard 12V Brushless Motor in a drone or cooling fan project, the sensorless method is perfectly adequate. Hongyunteng recommends sensorless wiring for its simplicity and fault tolerance, especially when you lack the motor’s original datasheet.
Critical Calibration: Throttle Range and Timing
After physically wiring the three phases, you must calibrate the controller’s throttle endpoints. This is the single most overlooked step.
-
Power off the controller.
-
Set your transmitter (or PWM signal generator) to maximum throttle (100%).
-
Power on the controller – listen for a confirmation beep (usually 2 short tones).
-
Immediately move the throttle to minimum (0%) – wait for a long beep.
-
The controller now memorizes the full range. Your 12V Brushless Motor will respond linearly.
Without this calibration, the sensorless controller may interpret the neutral position incorrectly, causing unexpected start-ups or erratic speed fluctuations. Hongyunteng engineers always perform this calibration twice to confirm stable memory storage.
Frequently Asked Questions About 12V Brushless Motor Wiring
Q1: What happens if I connect the three phase wires in the wrong order?
A: Incorrect phase order will not damage your 12V Brushless Motor or the controller, provided you do not apply full load for more than 5 seconds. The motor will either vibrate, refuse to start, or rotate in the opposite direction. To fix this, simply power off the system and swap any two of the three phase wires. The sensorless controller automatically re-synchronizes to the correct commutation sequence once the correct pair is found. Always test at low throttle (10–20%) to avoid over-current spikes.
Q2: Can I extend the phase wires of my 12V Brushless Motor without affecting performance?
A: Yes, but with strict precautions. Extending each phase wire beyond 30 cm (12 inches) increases inductance and capacitance, which can confuse the sensorless controller’s back-EMF zero-crossing detection. For every additional 15 cm, twist the three phase wires together tightly (triple-twist) and add a low-ESR ceramic capacitor (10µF–22µF) across the controller’s DC input terminals. Hongyunteng advises using at least 18 AWG silicon wire for extensions up to 60 cm to keep resistance below 0.05Ω per phase.
Q3: Why does my sensorless controller beep but the 12V Brushless Motor never starts spinning?
A: This indicates the controller fails to detect a valid back-EMF signal during the initial alignment phase. Common causes include: (a) the motor is mechanically seized or has high static friction; (b) the phase wire connections have high resistance (poor solder joints); (c) the battery voltage drops below 10V under load, preventing proper start-up. First, manually rotate the motor shaft by hand – if you feel strong cogging, the motor is healthy. Next, re-solder all three phase connections and test with a fully charged 3S LiPo (12.6V). If the issue persists, the controller’s startup current setting (usually adjustable via programming card) needs to be increased from 30% to 50% of rated current.
Final Verification and Load Testing
Once your 12V Brushless Motor spins smoothly at no load, attach your mechanical load (propeller, wheel, or pump impeller) and ramp up throttle gradually. Monitor the controller’s temperature after 2 minutes of continuous operation – if it exceeds 70°C (158°F), consider adding a heatsink or reducing the timing advance (usually via a jumper on the controller).
Hongyunteng production units undergo a 24-hour burn-in test with phase resistance checked every 4 hours, ensuring that every 12V Brushless Motor leaving our facility meets strict wiring integrity standards.
Need Expert Assistance with Your Motor Setup?
Wiring a sensorless controller correctly is only the first step. Whether you are troubleshooting erratic commutation, selecting the ideal KV rating, or sourcing high-quality 12V Brushless Motor units for bulk projects, Hongyunteng provides technical datasheets, wiring diagrams, and real-time engineering support. We stock compatible sensorless controllers with auto-calibration features specifically tuned for our motor series.
Contact us today – share your application details, and our team will reply within 4 business hours with a customized wiring schematic and component recommendation. Let Hongyunteng power your next innovation with confidence and precision.